Wednesday, September 16, 2015

Using What You Make

As I know I've stated many times before throughout the rambling lines of this blog, there is no feeling quite like using something you make. Building something from scratch, from raw materials, and then going out and stress testing it to make sure it works is such a good feeling.

That being said, within the last few weeks I've gotten to test a lot of my stuff. I've got to but them through some tests for durability, edge retention, and comfort of use. I was able to do some squirrel hunting (and it was a fruitful hunt!) and some light camping recently. Here's what I found:

5160 Bowie with Green Canvas Micarta Scales and Brass Pins: 
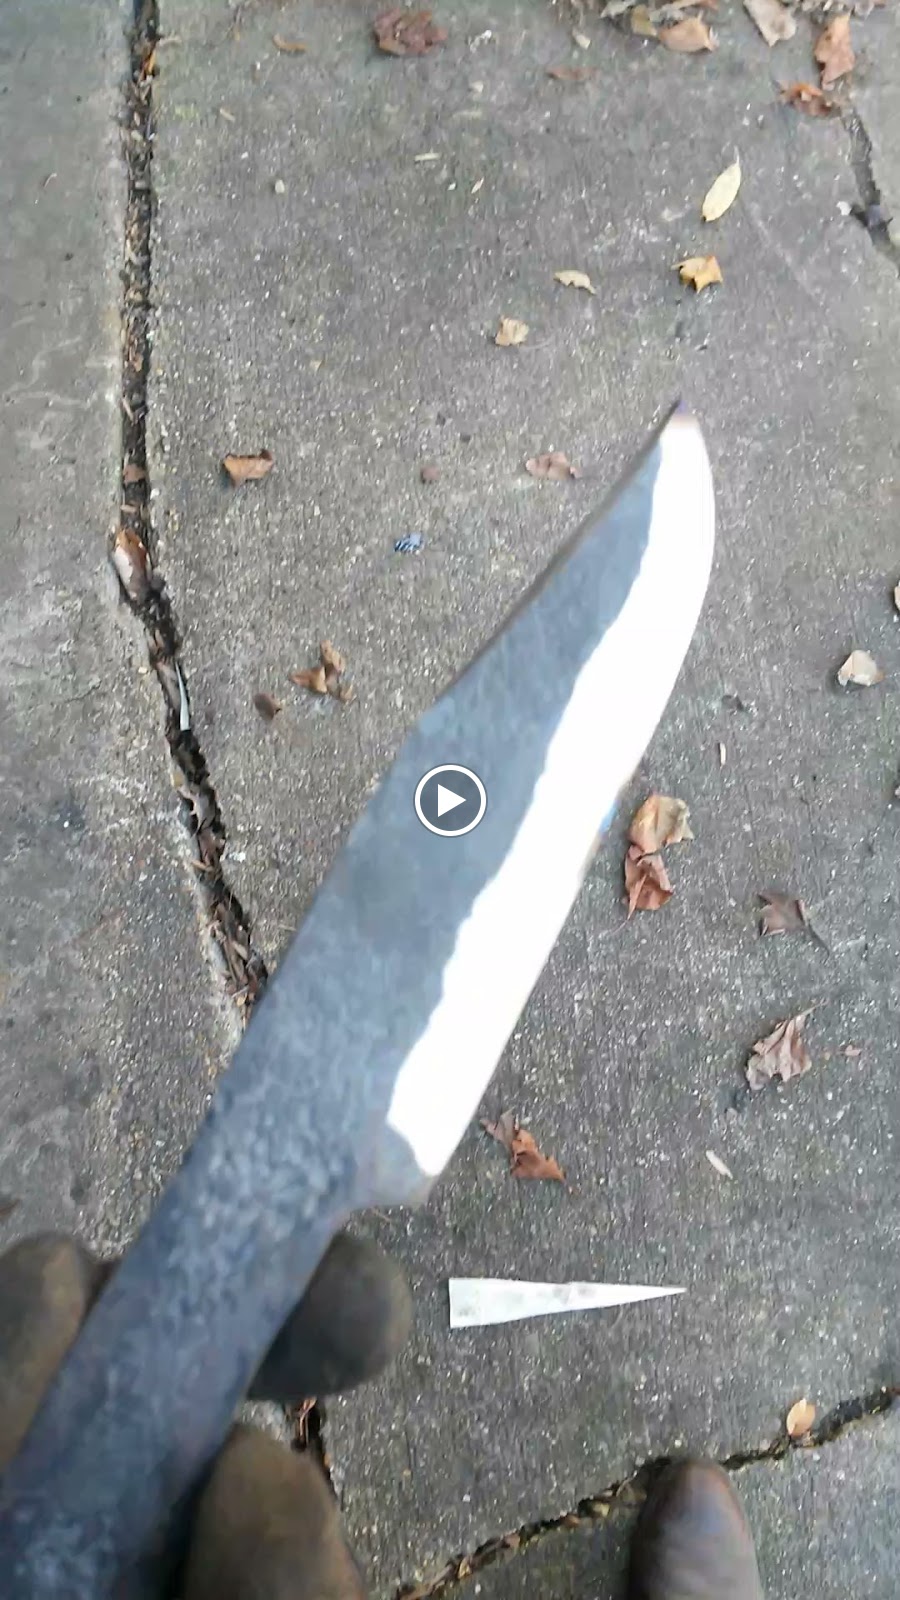
This knife still is not technically finished... but performance wise it is. It's been heat treated and has a handle on it. My dad, brother, and I slipped out to our honey hole for squirrel hunting a few weeks ago. It was a nice day to hunt in the early season, not too hot, humid, nor were there a bazillion mosquitoes. We slipped into the woods shortly before daylight as the woods started to wake up. The particular woods we were hunting was a swath of very tall hickory trees. by 10:30 AM, we had 11 squirrels between the three of us. A decent harvest, we didn't each hit our limit, but my dad did. I was pretty excited to clean all of these squirrels, I brought three knives with me and one of them was my bowie. I asked which knife they wanted to use (they've cleaned far more squirrels than I have) and my dad pointed at my bowie and said "... lets use that pig sticker you made". Jackpot!

It was and still am elated to say that my knife made easy work of the squirrels. Cutting through the legs, bone and all was no problem. Both my dad and my brother were impressed, I think. But the best part was that after it was all said and done, it still shaved. Yet again, Jackpot!

2.5lb 4140 Camp Axe from my axe class with Liam Hoffman... and Bowie round two: 
I was super stoked to camp at Kentucky Lake with my girlfriends family... but I cannot lie and say that I wasn't just as excited to get to put my axe through a long, long overdue stress test. We stayed at a place called The Triangle Fishing Club... and to my luck many of the members were having a work weekend. There was lots of timber laying around just itching to be chopped. It was not long after we arrived on Friday night that I wandered outside and started chopping on some fallen oak. The axe threw chips magnificently. However, when I was finished, I noticed that my edge was not quite as keen as before after only a few minutes of work.

The next day, I decided to start a fire around noon. I mounted up, axe and knife in hand and went to chopping. The club had provided us with plenty of fire wood, but it was fresh, wet red oak. I took my axe and started splitting. The head design and weight performed well. I was able to split some decent sized stuff, even being wet. I was also able to throw some shavings to try make some kindling. I did notice some continual edge wear at a certain part of my blade. I've never worked with 4140 before, I don't like how it hardens.. but I don't have the best supplies to harden it with (need to get some parks 50). I would like to master this steel one day, like many other ax makers have. My handle held up well, I blew a few chunks out of it, but that's what I get for not having a guard on it. I'll fashion one this weekend.

As for round two of my bowie... I used it to shave some sticks, create some small chips for kindling, and for making curls on the firewood for ease of lighting. The edge held up great and the handle was very comfortable in my hand.

I can't wait to make my small changes, and be ready to pump out a superior product. Also, let's be real here. I can't wait to field test more of my stuff!


Tuesday, July 21, 2015

The Appreciation of an Axe

For some of you, it is no secret that I am very much an Axe Junkie. Not only do I love making hawks and axes, but I love buying and restoring old axes. I've always had an appreciation for axes and their makers... but that appreciation has compounded into something much more now that I've finally finished my first drifted eye, solid construction axe with a carved handle.

I've mentioned this in my previous post. I know I've talked about this a lot with the people around me. I know, I know. The truth of the matter is, though, I'm very excited. Much of my excitement comes from the prospect of using what I make but with this ax I'm far more excited than I have been. You may be wondering why? Simple. This is the biggest thing I've made so far, it's made for heavier work than anything else I've made... and I'll be damned if I'm not going to put it through the works.

After rough forging and grinding back at our shop.
Let's talk about the making of this axe. If you follow many of my posts or activity, some may have seen how I make my tomahawks. I fold a piece of flat bar mild steel around a mandrel, wedge a carbon layer in, forgeweld it, draw it out, grind, etc. This thing was a whole 'nother ballgame. This thing was forged from a solid block of 4140 steel. The eye was marked, it was punched from both ends and the slug knocked out, and then a mandrel pounded in to shape form both sides. Oh, and the fullering of the lips, too. Now, lets set something straight here. I guided the tools for most of it, I didn't swing the sledge. I did swing the sledge on my partners axe for quite a few hours. It was hot work, it was hard work... hell it was a lot of work. I remember how bad my hands hurt after that day of forging these 2.25lb axes... not because the lack of calluses or anything like that, but because of the impact of the sledge on steel. Four hours of forging for each of our axes. Phew!

After forging this beast, I look at folks like Liam Hoffman, John Neeman, Justin Burke, and any of those other folks you see that forge and sell drifted eye axes and think "hat's off to you, folks. You guys do a lot of hard work". It's a whole new level of appreciation for their work. Power hammer, sledge hammer, press, or forging hammer... it ain't easy, folks.

Then, with all of that rabble said previously, we must also look at the handle. I've carved a few handles so far... they weren't really too bad. Go to town with a draw knife, rasp, and sand paper. A hour or so later, you've got yourself a decent handle. Carving the handle for this axe was a bit different. I purchased a nice kiln dried ash board from Nick Thrane of Thrane's Axe and Saw Co, which was hand picked by him for carving axe handles. I wanted something a bit easier to carve than hickory, but something that still got the job done. First, I drew out my template on the board with the grain orientation I desired. Then I took the design to the band saw and cut out my rough shape. At this point, I had a hard time deciding what to do next. I thought "Well, I'm an Axe Junkie... so I could go to town on this with a carving axe or I could start with the draw knife...". Long story short, I'm glad I decided to use the draw knife. The wood is dried and I feel like I would have had a lot of splitting going on if I had used an ax.

The absolute most difficult part of this whole handle was shaping the eye of the axe, which is what I did first. Being my first handle for this kind of axe, I had a bit of trouble. My axe was forged at my mistake with a pretty small darn eye. After 3 or 4 hours total of rasping, scraping, sanding, and carving, I finally got it to fit!

After a few hours with the draw knife, I switched it around to the spokeshave. I ordered a spokeshave for this project, as I've never used one nor did we have one on hand. What an interesting tool. I ordered the Stanley 12-951 Spokeshave with a Flat Base. Pretty nice out of the package, though I quickly became frustrated with this tool because of how quickly it got clogged. I couldn't figure out what the gig was, only to realize it had a lip on the razor blade. I did have to take the blade off and put it on a strop a few times to remove the lip on the razor blade edge. After doing so, it glided down the handle and threw curly strips of ash like confetti. I need to get one with a curved base. That's on my shopping list next.

After sanding it down a bit, drilling a handle hole, cleaning up the end of the handle, I hit it with 6 coats of boiled linseed oil. The handle is nice and smooth, a bit thicker for my bigger hands, and feels great under the weight of the head.

The only remaining thing is the heat treat. According to Liam via messages and at our class in which this axe was forged (see previous post) this head needs a agitated quench and a nice soak at 400 degrees for a few hours. Hopefully using veggie oil doesn't bite me in the butt. We'll see though! I'll post some updates with the field test.


Mock up fit of the axe head on the handle. Pre-heat treat.

Wednesday, July 8, 2015

Phew! What a busy last few months!

Howdy folks!

I'm well aware that it has been a little quiet around here of late.

Some fun, interesting, and inspiring things have been happening around the shop and away from the shop, too!

A few projects have went out to customers and a few are still awaiting their final touches. Here are a few photos of a folded tomahawk I did for a friend back in February. Folded mild steel, 5160 core and bit, hickory handle, pewter end caps poured.


Something very exciting happened since the last time I was able to post. I got to head over to DRAS Fabrication and Design in St. Louis and take an axe forging class from Liam Hoffman. If you haven't seen any of his work, it's definitely worth checking out. I'm just saving my pennies until I can buy one of his hammers. They're awesome!
Striking for Mr. Fienstein, slitting and drifting the eye for his 2.25lb camp axe.

It was a fun weekend. The first day was full of demonstrations followed by our turn to make a 1.25lb little camp hatchet with a striking partner. I lucked out big time, as I got paired with Mr. Stephen Fienstein. Who is he, you may ask? He's a hell of a guy, that's who he is. He works with casting anvils for companies here in the US and has been forging for a long time. He was a boatload of knowledge, a pleasure to work with, and my stomach hurt from laughter by the end of the weekend.

Our first small hatchet didn't work out well. We salvaged it, but the walls of the lungs were just a little thinner on one side. We decided on the next day that we were going to kill it!
Our first axe... it was a bit rough.

The next day, Liam let us loose on forging two axes for the day, these were bigger at 2.25lb when finished out. We started on Mr. Fienstein's ax and I was striker for the morning. I learned a lot about proper striking technique. I do feel bad, though, seeing as a snapped Mr. Fienstein's sledge handle! If you've never been a striker and smashed a piece of 4140 the size of a small brick before, it's a chore. Your hands start to ache from the impact of hitting the steel, your arms and back start to hurt... but lordy is it cool to see how much metal you can move.

Mr. Fienstein's axe turned out much nicer than mine. Mine turned into a nightmare and I had to bust my butt to salvage it, but I think I salvaged it. I'd like to thank Andy and Liam for the experience. It was an awesome class and I can't wait to go back to DRAS Fabrication for another class!
Here's a video of Liam and his striker, Andrew, showing how it's done. 

You're probably thinking "...that's all you've been up to for the last SIX MONTHS?!"

Well... no, that's not all.

Lots of things have happened in the last six months since I've posted. I've started a lot of projects, but haven't had much shop time (you all probably know the drill; new job, life, moving, home restoration, etc).

I have, however, nearly completed my hand carved handle for my ax I forged at Liam's class.  I lucked out big time by having the contact of Mr. Nick Thrane of Thrane's Axes and Saws. He sent me some b-e-a-utiful ash and hickory for carving handles. I have also nearly completed a bowie that I started on back in January (shown in my last post after the first rough grind). All needed for that blade is a vinegar bath or a Ferric Chloride bath, gluing up the g10 and micarta scales, and some fine shaping.

I also have a 7 inch bowie I'm working on for a friend, as sad as I am to say it's taken me far longer than expected. It'll have a copper bolster and stag handle. It's a hunting knife, 5160 spring steel.

I don't have any photos, but I did forge some cable and did the first initial weld and draw out. I have a lot of work to do with that stuff. It seems to have a mind of its own in terms of where its going to move when being forged.

I hope to improve the quality of my work soon, as any crafts person does. I recently aquired some equipment through the unfortunate passing of my cousin, James Poag, whom I've previously posted about. He was an amazing man and one hell of a craftsman. I purchased his old tempering oven, engraver, chasing tools, and some great material he had that he never used. So if any of you folks have tips on engraving and using chasing tools, I'm open to all tips.

Cheers folks, keep your stick on the ice.


Tuesday, January 27, 2015

Recent Findings and Realizations

Every piece I make, I learn something new.

Whether it's something to do or not to do. 

Each project is a learning experience that proves to be invaluable. With my last few projects, I have came to a realization about my blades. It's not a flaw, it's not a devaluing characteristic, but it is definitely something that needs to be adjusted. 
Recently I completed a commission for a friend of mine from college. He wanted just a plain knife from me, something to keep around the house. I started conceptualizing this project, and came up with just a plain mill file knife with red oak scales. I thought "this should be perfect for what he wants". 

The best part is, it was exactly what he was wanting. 

I forged the blade, ground it, filed it, hardened, tempered, and started to a rough clean up. The knife had a really great feeling in the hand and a nice shape for all around tasks. I got 'er all put together, the handle sealed up, and set to sharpen.

For the holidays, I was blessed enough to receive a set of Arkansas sharpening stones from a place called "Hall Sharpening Stones". Ironic, right? 

I slapped my oil on the stones and started swiping away, intent on getting this puppy razor sharp. I came to the realization after about 20 minutes that I was really having trouble getting it razor sharp. I just couldn't figure out why it wouldn't get sharp. The other knives that I had laid on the stones had taken a wicked edge fairly quickly. I started to examine the knife, only to realize my problem was with my bevel. It wasn't a flat grind, it wasn't a convex grind, it was a curved grind. 

I've spoken with many knife smiths before, and they all say the same thing for the most part: "You can get any type of grind sharp... some are just more difficult than others."

I ended up getting the knife shaving sharp, it just took longer.

I do believe this won't be a problem any more, as I have recently purchased a 2x72 belt grinder. It's old, but it's a beast. With this, I'll be able to do flat and convex grinds and get a super sharp edge on a knife much quicker. 

On the topic of a belt grinder, I don't know how I lived without one as an amateur bladesmith. It makes all the difference in the world in terms of efficiency and effectiveness. I have gone from being able to profile and rough grind a knife in around an hour to doing the same thing in around 30 minutes. Here are some of the fruits from last weekend's labor.


There's also been some other things happening at Hall Ironworks. While I've been immersed in my blade work, Wayne has been hard at it on some of his projects. He recently completed a pretty impressive boot rack for some family friends. He built it from square stock, some cut out letters, and beautiful maple boards.


A bit more recent than that, Wayne also finished a fireplace panel for some more family friends. It really was a beautiful piece. He cut, riveted, and fit all of the sheet steel. He then forged out two letters, both were a "G". Then, using some smaller mild stock, he forged and textured out some branches of trees to crawl across the front landscape of the panels. I say he knocked it out of the park!


Thursday, December 11, 2014

Holiday Happenings at Hall Ironworks

It's been a little over a month since my last blog update. I haven't forgotten about you all, I promise.

There's a lot going on a Hall Ironworks right now, between my commissions and the projects Wayne has had rolling... where to begin?

First off, this is my first holiday season in the blacksmithing/bladesmithing world and so far I like it. It's nice knowing that people are considering my work as gifts for someone they care for. It really is a good feeling, and I'm blessed to know the wide range of good, earnest people that I do.

But enough with that mushy mushy stuff, on to some hammerin'.

Standard hawk on the bottom.
Lawnmower on the top.
There are some things that I can't quite show until after Christmas, but Wayne has just completed a suuuuper cool project that's different than he's ever done. I'll post pictures after the holidays, but for now, he's a few axes and hawks I've forged. Some have become gifts, some were before the holiday season and were just commissions. The ax forged from 5160 leaf spring and a lawnmower blade came out far better than expected, but it was really tough to get it stick while using the coal forge. When tried in the gas forge, it stuck right away. Evidently, a lot of these mower blades have a high amount of chromium in them, which makes them a pain to forgeweld to themselves or carbon steel. Needless to say, it was an excellent lesson in forge welding for myself. I would list the demensions of the steel I started with, but I couldn't tell you due to how long this was a WIP (work in progress).

Freshly forged standard hawk.
I've also forged my first mouse hawk, and I really like forging these. They're nifty little bastards, a lot of folks un-mount them and use them for skinning, evidently! I'd like to make more of these. For my full size hawks, I start with 10 inches of 1/4 inch thick by 1 1/4 wide flat bar mild steel, but the mouse hawks I only start with 8 inches. It makes a big difference in size, despite only losing two inches of material. I do find it easier to shape the eye with the full size mandrel rather than the small mandrel.
My little mouse hawk! 

I'm currently working a knife for a Christmas gift for someone in my family (not going to say who, they may be reading this!) but it's a clip-point hunter made from an old bastard mill file with a walnut handle. I've really enjoyed this one, too. There's a lot of passion going into this. It was a drop off from my previous file knife made for my friend Nick. I forged the rough shape, forged the bevel, and started clean up. The more and more I carve and work with wood, the more it grows on me, especially walnut. The wood has so much character, it is dense enough to make a solid handle, yet isn't a nightmare to carve. Douse it in a few coats of Tru-Oil and you've got a deep, beautiful finish. I have yet to finish polishing and forge the bolster, but I'm going to whip up some mokume-gane this weekend (redneck style) that will become the bolster for this knife and maybe some Christmas gifts.


One of the cool things Wayne and I did back in the beginning of November was head up to Odon, Indiana for an Indiana Blacksmith Association hammer in. Holy COW it was cool. Lots of awesome people, and it was like a bottomless well of knowledge. Everyone was so welcoming and pretty damn funny, too. The coolest part was a 200lb Bradley hammer than ran from the drive of a tractor. There's a video below.

They IBA guys hanging around the fire, forging damascus. 
And finally, here's an image dump of some works in progress, some cool stuff Wayne made, and other goodies. Thanks for reading, and happy holidays, folks... whatever your beliefs are!
A three-layer viking style seax. Soft wrought iron on the outside, hard 5160 carbon steel on the inside!
A table base forged by Wayne
Ash shovel and fire poker for the Hall houses fireplace. 
One of the handles for the fireplace tools Wayne forged. 

Two bowie/bushcraft choppers, an edc, commission, and sheepsfoot carving knife ready for clean up.
 And finally, here's the video of the 200lb Bradley working a 1 inch piece of rebar.

Wednesday, November 19, 2014

The Process

Today I'd like to share something that a friend of mine, Aaron Armstrong of Black Cat Forge, posted on the "Blacksmithing" Google+ page. The page link can be found to the right of the page. Aaron is a fellow moderator of the site and is a very accomplished blacksmith. He has an deep understanding of the trade that most people do not. 

Aaron facilitates engagement in the communities better than anyone else. He's always offering advice, how to's, and tool identifications. You can find him on Google+ and on his Etsy site located here. He has some really cool products for sale that would make great Christmas gifts. 

Here is Aaron's post. I think it's something that we all need to keep in mind when working off of demos: 

Tonight's discussion is not on the project itself but more the process.

Many of us do a lot of our first projects from "Demos". Demos are great, but I was reminded with this project, that demos are a starting point and an idea. How they are done is a guide line, not "Law". Meaning, just because one smith does it one way doesn't mean that the project has to be done the same way. What works for one smith may not work for another. There is always more than one way to complete a task, as long as the finish project equals that of the demo, then you completed the task.

Tools will sometimes play a factor too. A lot of the time we make our own tools and they are sometimes different from the smith who did the demo. I had to make a new guillotine to complete this one and I found it easier to work the horn and heel after cutting it off of the 1/2" square stock. Different hammers and anvils will play a factor too. The demo had making the horn and heel while it was still attached. Generally it is easier to work metal without tongs when you can, but for this project it was easier for me to work the horn and heel with tongs. Doesn't necessarily mean that it wouldn't work for another smith, some may find it easier to work the horn and heel while still attached to the stock, however for me it was not.

So this is just a reminder, to think for yourselves when doing demos and use what techniques you are comfortable with.

Wednesday, November 12, 2014

Bench Knife Revamp and Lots of Coffee

I know I've been talking about getting away from doing knives entirely... but sometimes the creation or completion of a knife is just what the soul needs.

About three years ago, I forged a rough little bench knife from a cut off I had remaining of a jackhammer bit. It was nasty, rough, and didn't even get hardened or tempered. But it was a nice little thing to have around my bench to do stuff with, so I kept it. I wrapped the short, stubby handle in some deep burgundy leather cord and called it finished.

The bench knife is on the top.
Sorry, this is the best pic I could find. 
The other day, I was waiting for a knife to come out of the tempering oven (let's be real. It's a toaster oven. Not a tempering oven, not even in the slightest. It makes me feel cool saying it's a tempering oven, so let's go with it. Deal?) and I saw my little bench knife sitting there. Having remembered it being so sharp, I picked it up and ran it down my arm. Expecting to see hair start popping off of my arm immediately, I was utterly destroyed inside when I realized the hair on my arm was in fact resilient to the knife edge. Had the eggs, bacon, and dark coffee I've been eating every morning for the last two years turned the hair on my arm to the manliest, hardiest, steeled arm hair that even Paul Bunyan himself would be impressed with? Despite what you may think, no folks, it had not. The blade was as dull as a butter knife. I rolled the little, crude knife in my hands with sad eyes and thought "This is not the end. I will change this. I must fix this"... so that's where it started.

I ran outside to my handy-dandy, second replacement Harbor Freight 1x30in belt grinder (it had been out of the package two hours before, broke it in on another knife) and went to town. The nice thing was since I hadn't hardened it, the steel was soft as butter. So shaping was easy. I cleaned the top up and ground a steeper bevel on it. I left the fire scale on the top portion of the blade cheeks, of course. I thought "Hmph... decent."

Back inside, I started looking for scraps of wood scales to start carving out a handle. At this point, I had ran back and forth from the shop to the house about six times, which prompted Wayne to come downstairs and say "Well... what wild project did you come up with all of the sudden and decide you have to complete tonight?". He knows me too well. When I get a project on my brain, I start running around and get jittery like a high school chemistry teacher who just discovered the amount of money to be made from his perfected rock recipe. Wood chips were flying from the slab of walnut I found hiding under my work bench, shavings were rolling and spiraling onto the floor from my planer, and by the end of the night I was gluing together two scales of what I was hoping would be a relatively pretty handle.

After a two day wait, due to busy life stuff, I was able to un-clamp the scales and start sawing to a rough shape. I wasn't really sure what shape I wanted, and due to the limited material I had to work with, I wanted to keep it plain but appealing to the eye, such as seems to be my style. As I shaped the wood with my planer and chisels, it began to take the shape of the handle, or tsuka, or a Japanese shirasaya style. It was a plain shape, nothing fancy, but the wood was just beautiful with blends of tan, dark brown, and purples. I cut the shape of the tang into some copper I had lying around, cut it out, sanded it flush, and glued the copper spacer to the handle. I love copper, I really do. I love the colors and the textures that it can assume. I also love just how easily the metal works and bends to your will, so long as there is a steady hand guiding it. I broke out the remaining sandpaper supply I had and went to town sanding it all nice and pretty. Once it was to my liking, it was time for my favorite part of any process when working with wood. The application of not just any stain, but boiled linseed oil.

For those of you who do not work with wood very much or happen to NOT be a fellow Ax Junkie member (look it up on Facebook if you like axes, go ahead. You know you're curious now), boiled linseed oil is the fragrant nectar of the wood working Gods. Although the nectar is not recommended for consumption, the sweet, earthy smelling liquid can breathe life back into even the most dry and weathered wood. The easy application and quick drying time makes it a go-to-finish not only on my bench, but of many hobbyists and craftsman/craftswomen who truly appreciate a natural, beautiful color and shine kissed by Gods of woodworking. Fun fact: it makes a wonderful quench for hardening, although it's expensive. I watched someone quench a tomahawk head in it at JCC and it did the job (and smelled great!).

Over all, I'm happy with out this came out... sort of. If I had a way of yanking the blade out of the handle without destroying the handle, I'd put a full polish on it and try to do a hamon to finish off the look. Maybe add some fancy filings on the spine of the blade. However, like one of my buddies says:

"If 'ifs' and 'buts' were candies and nuts, we'd all have a merry frickin' Christmas, wouldn't we?"

Thanks for reading. I had a lot of caffeine this morning whilst waiting on some things at work.